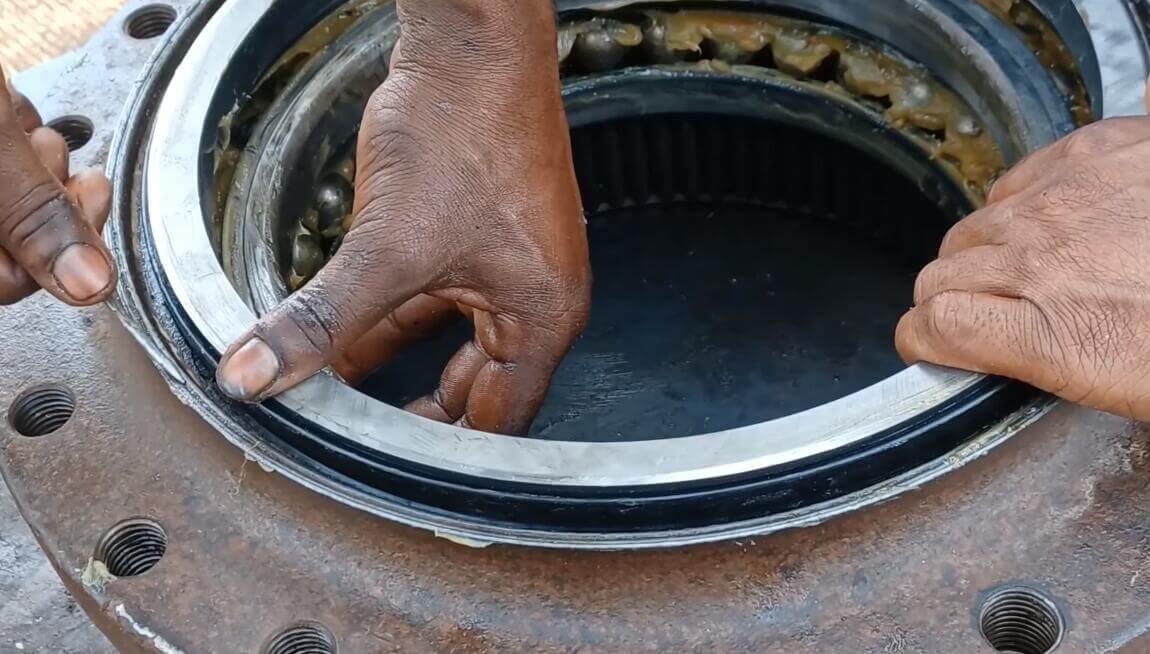
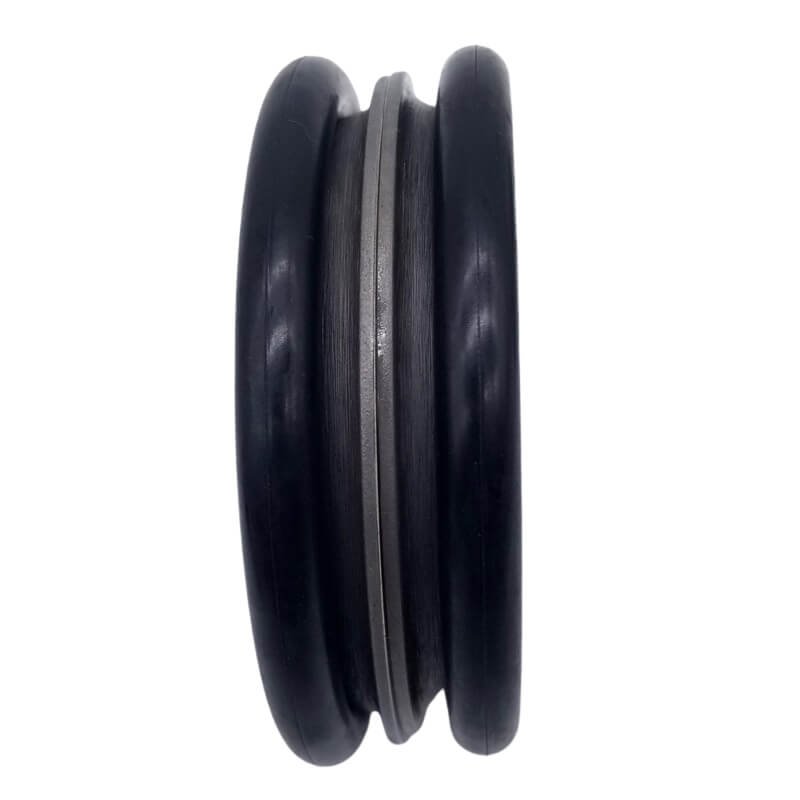
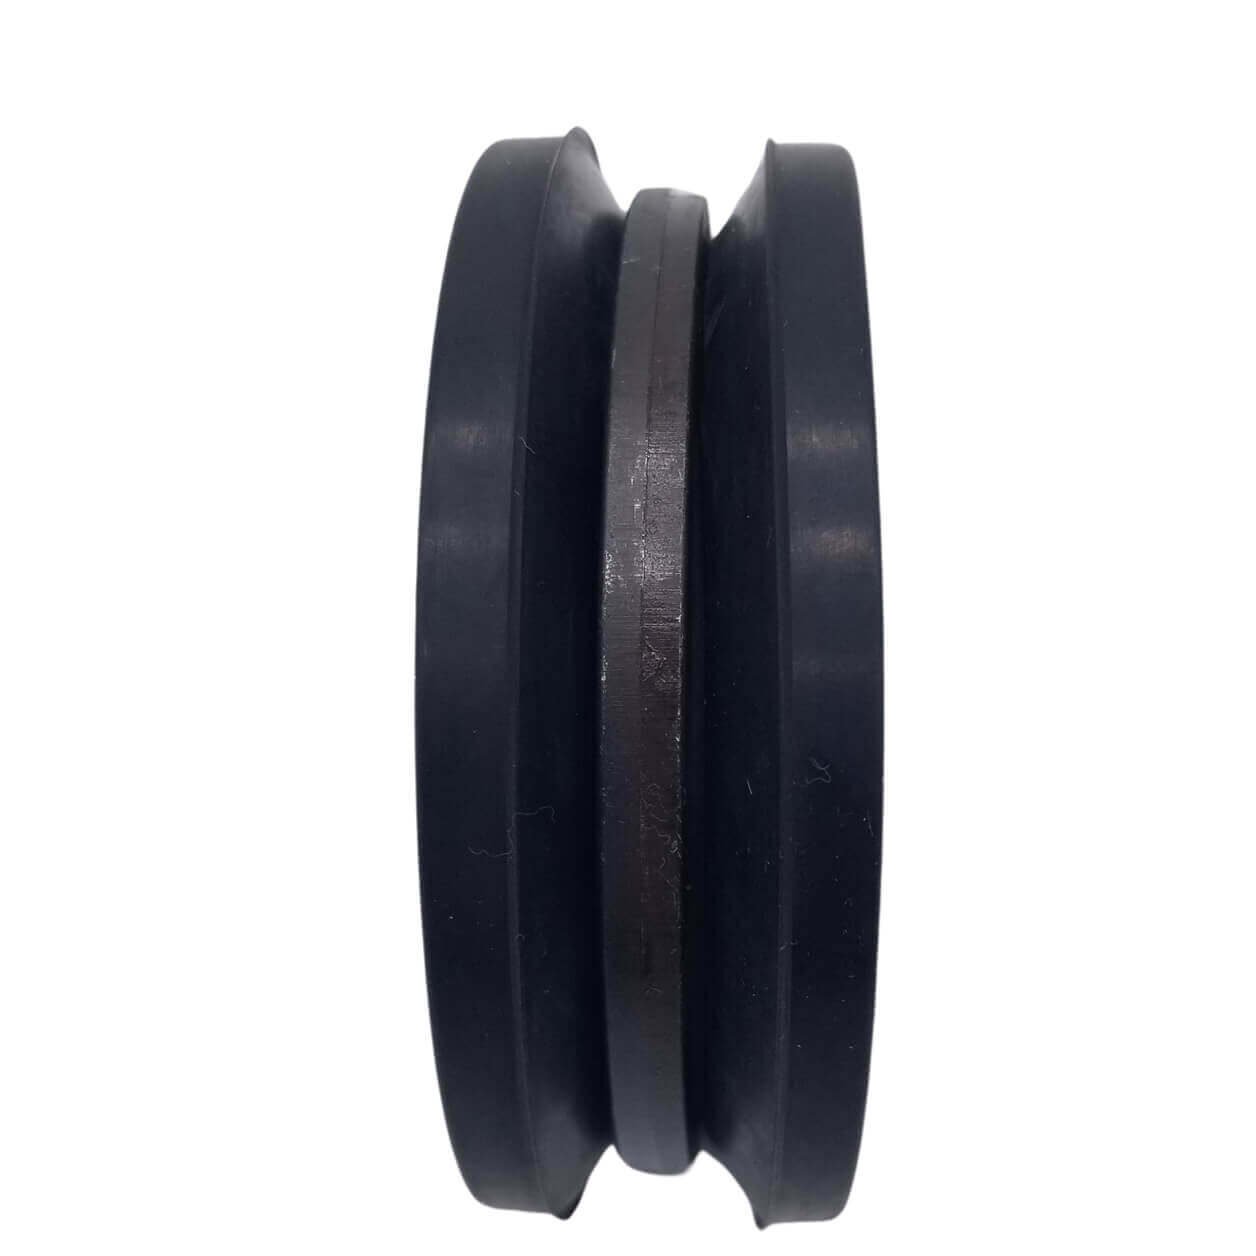
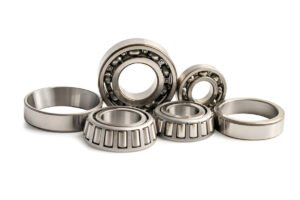
When replacing the seal group which also referred to as mechanical face seal, duo cone seal, on a reducer or planetary drive on machinery, there are several steps involved that require accuracy and skill. The first and most important step in the process of replacing a seal group is to measure the old seal group correctly. In this article, we will cover how to measure a seal group correctly to replace it and ensure your equipment will function properly after servicing.
Table of Contents
Understanding the Importance of Accurate Measurement
It is also important to keep in mind the importance of an accurate measurement process before replacing the old seal group. Duo cone seal groups are used in the planetary drive on machinery, and they are intended to prevent lubricants from leaking, and to keep contaminants out (dirt, sand, hard sharp sharp-edged objects, etc.) entering the hydraulic drive process during operation. If you order the wrong size replacement, your machine will be out of service and will require repairs.
Step 1: Identifying the Seal Group
The first step is to determine the specific duo cone seal group that is being replaced. The machine may have different types of roughly similar seals that serve different functions. There are three main types of duo cone seals. Knowing these details with accuracy is vital to the performance of the seal. Document any special features or dimensions that need to be reproduced on the replacement seal. Consult the equipment’s manual or the manufacturer to identify the specific seal group in question.
- DO Type
- DF Type
- XY Type
Step 2: Getting Ready to Measure
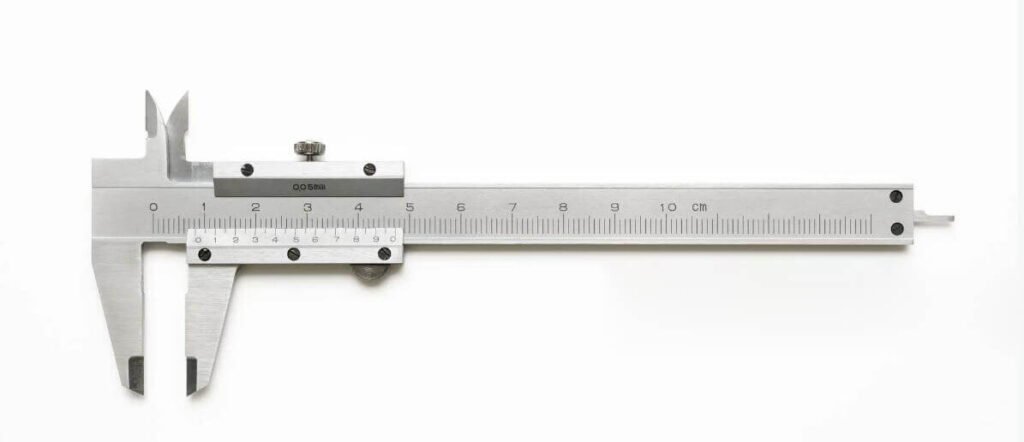
The next step is gathering the proper tools to use. The tools must be accurate, so you will now need a set or pair of calipers. Ensure you have the tools on hand and that they are in working order in preparation of accurate measurement.
Step 3: Measuring the Outer Diameter of the seal group
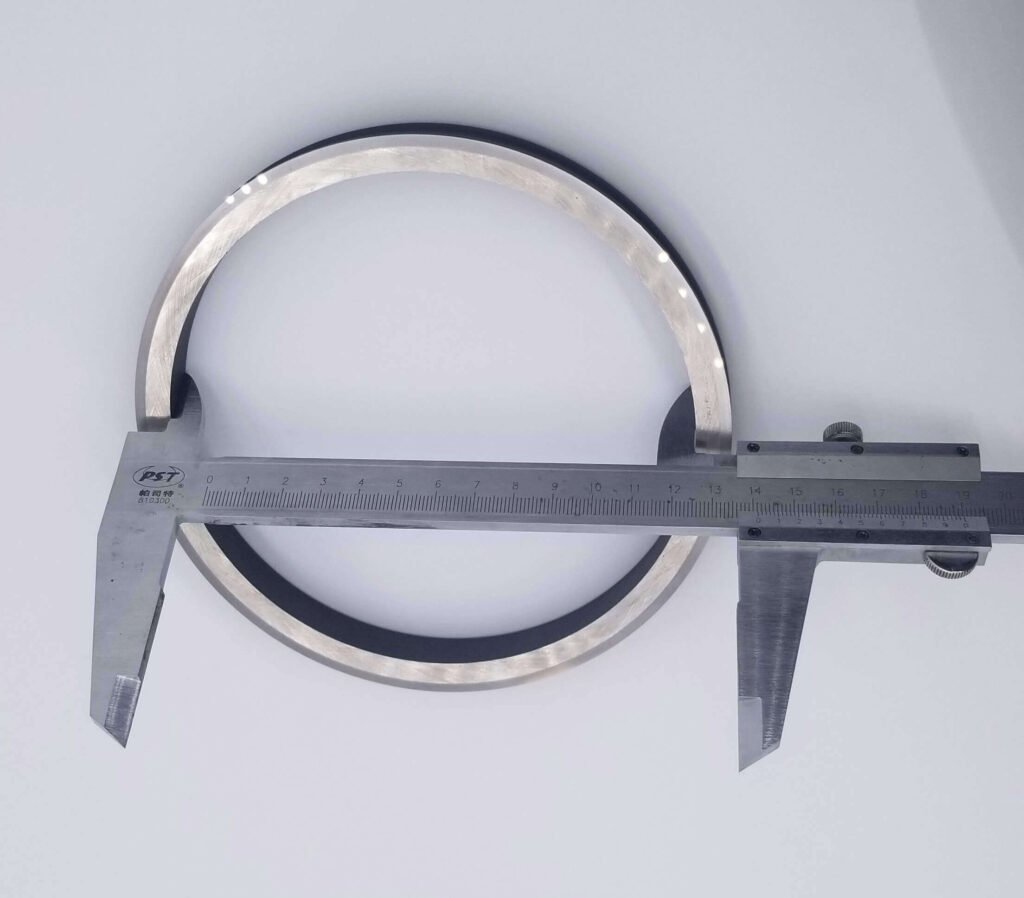
The outer diameter can be considered a primary measurement. Use your calipers to measure the distance across the seal group’s greatest distance. It is advisable to take this measurement in multiple locations, in case there is any wear and tear or deformation to the seal group.

Step 4: Measuring the Inner Diameter
Once you have the diameter for the outer diameter, you can turn your attention to measuring the inner diameter. This measurement is important to ensure that the seal will fit properly around the shaft or pipe. Just as it was with the outer diameter, take several measurements so that you can get an accurate average.
Step 5: Measuring the Combination size
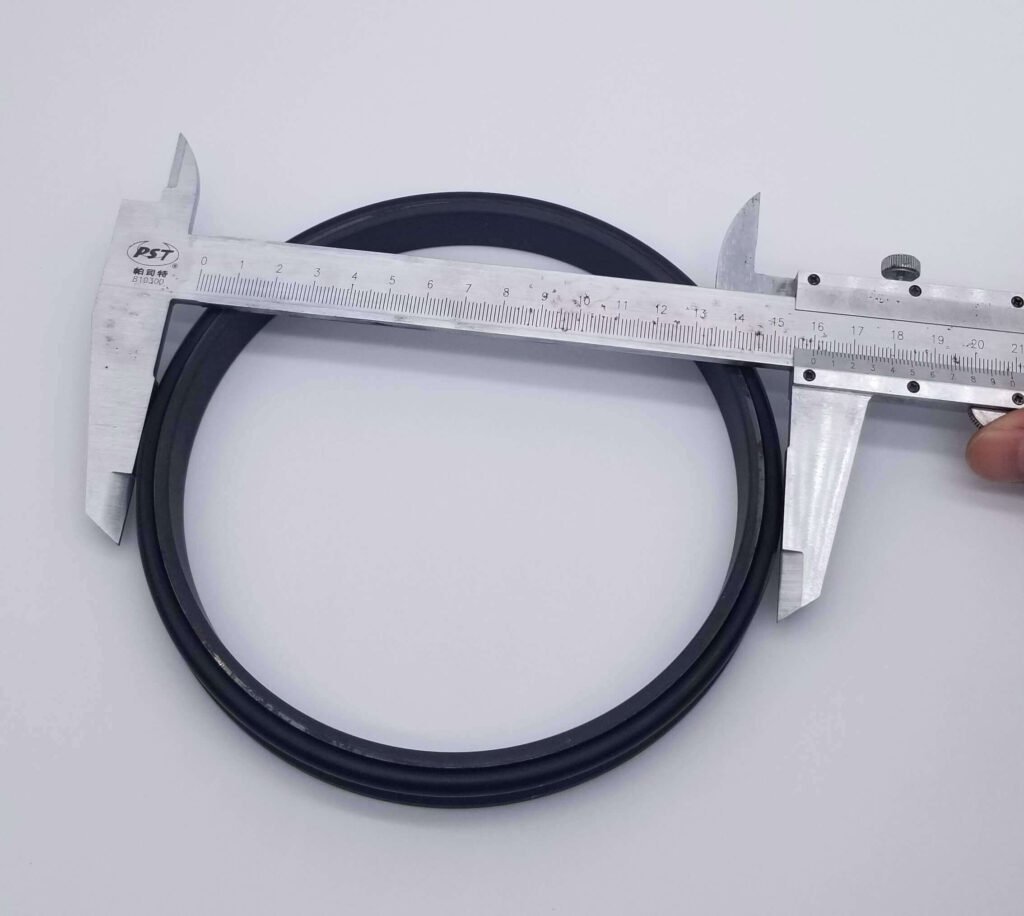
To ensure that the replacement of the seal group will fit properly into the housing, you also must collect the measurement of the combination outer diameter, which is the outer diameter of the metal ring and the elastomeric ring.
Step 6: Determining the Width Or Height
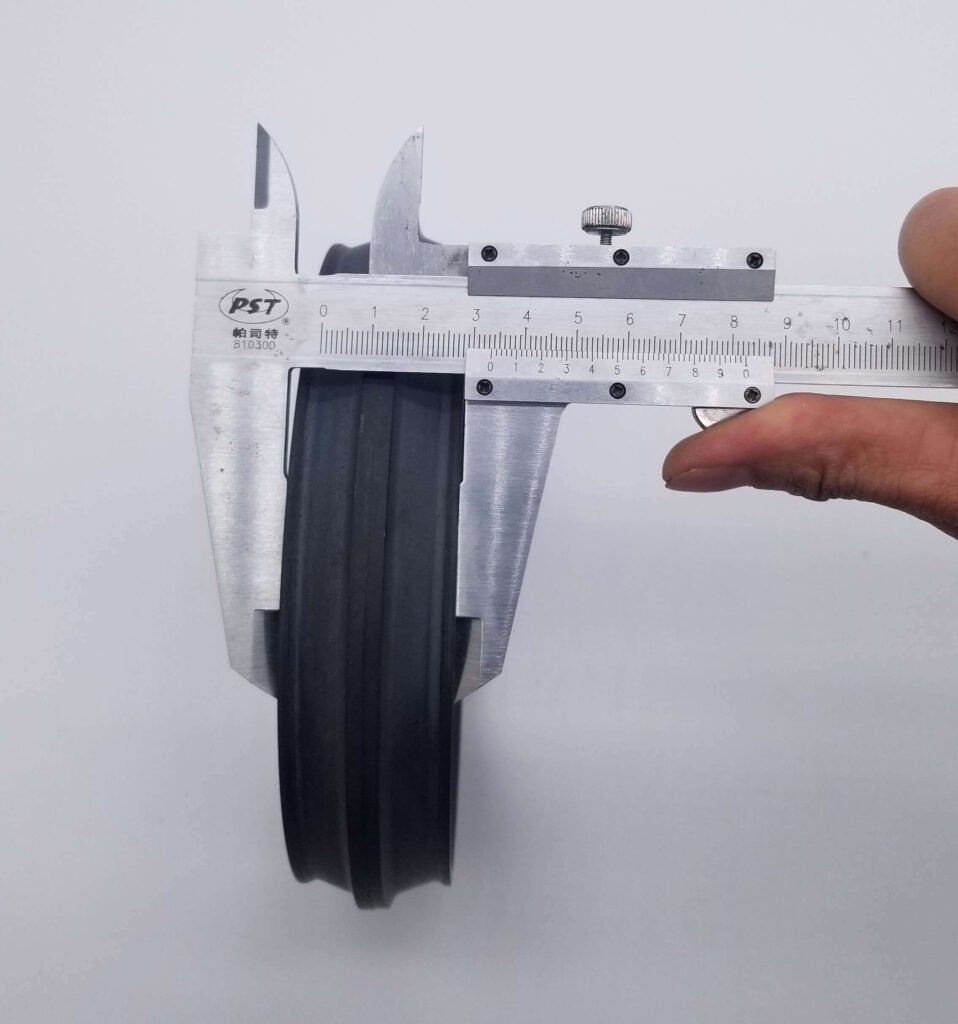
Additionally, the width or height of the seal group is essential. These sizes determine how well the seal will fit into its housing. Width is the distance from one side of the seal to the other side of the seal, and height is the distance from the bottom of the seal to the top of the seal.
Step 7: Assessing the Condition of the Seal
While taking the measurements it is a good time to assess the condition of the existing seal. Look for flaking, cracking, worn areas, or any other damage. When assessing the existing seal you can discover valuable information regarding the replacement seal and if there is anything that may need to be addressed with your machinery.
Step 8: Consulting a Professional
If you have any concerns regarding the measurement process, reaching out to a professional is never a bad idea. It’s always good to have someone walk you through the process and verify your measurements to help ensure that your machinery is functioning properly in the work environment in which it was designed.
Final Thoughts
Accurately measuring a seal group is a critical step in its replacement. Taking the time to accurately measure a seal group is important, as it ensures a replacement seal will fit properly, allow for proper sealing, which prevents leaks and reduces the risks of damage to the machinery. Following these steps gives full confidence that you have measured the seal group to select a proper replacement. Remember, proper measurements will ultimately prolong the life and efficiency of the machinery.
When selecting a replacement seal, consider its environment: temperatures, pressures and the types of fluid or gases the seal will be in contact with will all have a strong influence on seal material and design.
Once you have taken all of the measurements and noted any special requirements, take a moment to re-check your measurements. This may help find something you might have missed, it allows for your measurements to be as accurate as possible.
After you have measured your seal and have all of the measurements, you can select and purchase the proper seal group. When comparing your measurements to your seals and the specifications of the new replacement seal, it is always wise to compare the dimensions to OEM specifications. This ensures performance is similar and seal groups are compatible.
In conclusion, the replacement of a seal group is a process that requires thoughtful planning and attention to detail. Accurate measurements will ensure a successful replacement. If you follow these steps and ensure you accurately document all dimensions and requirements, you will be able to effectively maintain your machinery and equipment performance.
Regular maintenance and timely replacement of seal groups are critical good practices in the lifespan of any equipment that comes with one. Learning the measure and replace method for seal groups will ensure that your equipment is working smoothly and will help it last longer and reliably.
Frequently Asked Questions
1. Why measure a Duo Cone seal before replacing it?
Measuring your Duo Cone seal allows you to purchase the correct replacement size. This investment can help reduce leaks in the sealing surface and will allow your heavy duty equipment to perform to its maximum potential.
2. Which parts of the Duo Cone seal should I measure?
You will measure the outer diameter, inner diameter, and cross-sectional widths on the metal rings (two of them) and the elastomers (two of them) of the Duo Cone seal.
3. Are there special measuring tools that I should use?
For accuracy with metal parts measure using a vernier caliper or micrometer, for the rubber parts you can use a flexible measuring tape or a ring gauge.
4. Are there ways to measure a worn seal for dimensions?
You should NOT measure a worn seal because once elastomers, or rubber materials, are worn, some dimensions can change. It is always best practice to refer to the manufacturer’s specifications or measure from the new, unused seal if available.

